$10 Robot Platform - Part 3
I have sort of stalled out on my little robot project that I started documenting with part 1 and part 2 but I figured I'd at least throw up a post with my results. The short version is the motors in the $10 RC car that I used as the basis for my project suck. I've got some geared motors that I had ordered and orginally planned to use before I decided to try to hack the RC car that should work out better. Apparently, geared motors are a good thing, which I learned the hard way. I had it working okay on hardwood floors where the wheels could spin and slip a bit but in my garage with traction it was just too hard to control. If I give it enough power to get over the inertia to start moving then it ends up moving way too fast. I was thinking about working on the code to give it an inital burst of speed to get going and then scale back to a more controllable level but in the end I think it's best to chalk it up to a learning experience and move on to Robot 2.0. Anyway here are the final construction steps.

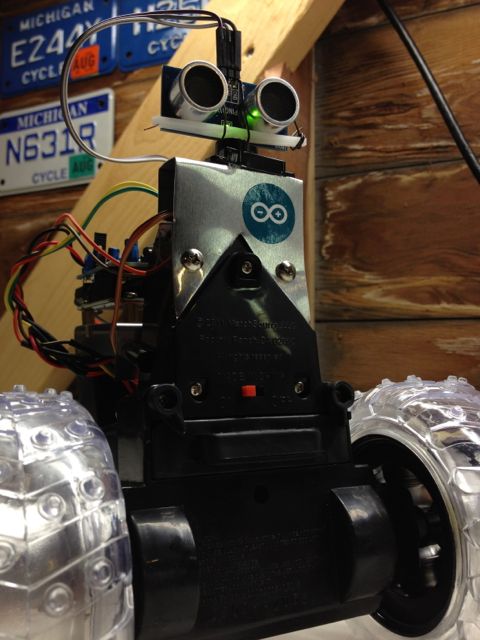
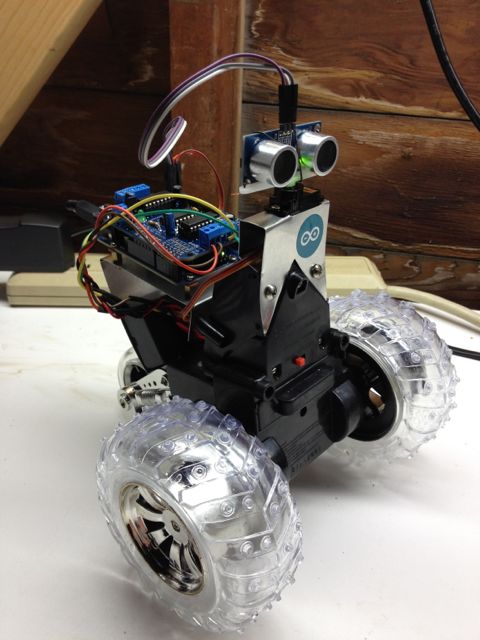
I made another bracket out of the aluminum flashing to mount a servo to rotate the ping ultrasonic rangefinder so the robot can "see". It was just three bends and some trimming to make it fit the contour of the RC car base. I cut the opening for the servo with a dremel tool.

I mounted an adafruit motor shield on top of the arduino to control the motors and the servo. I used the servo 2 connector on the motor shield for the ping sensor. The RC car has a holder for 4 AA batteries already so I ran those to the power on the motor shield while I used a little 9V battery box to power the arduino separately. The 9V battery isn't mounted securely in this picture, it's just tucked in underneath the arduino bracket.
And that's about it. Everything worked more or less as expected but the motors just don't have enough torque to move the thing unless I run them at such a high speed that it is too hard to control. The little guy was smacking into everything in my garage before it had time to detect that something was in front of it. Then it would go through the motions of turning until it found a clear path and run as fast as it could into the next object.


